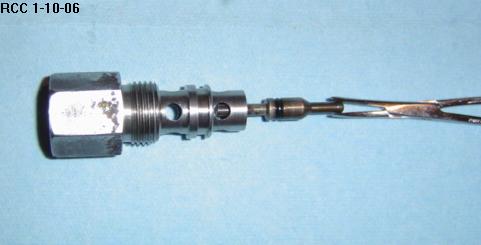
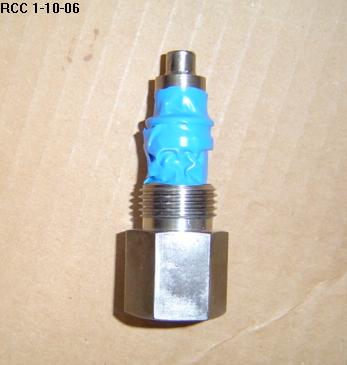
You can get a replacement O-ring at a hydraulic repair shop. I got several from a Caterpillar hydraulic shop and picked up one from NAPA part #727-2008. Clean the inside of the check valve with a Q tip and then lubricate the area where the small O-ring mounts with hydraulic fluid.
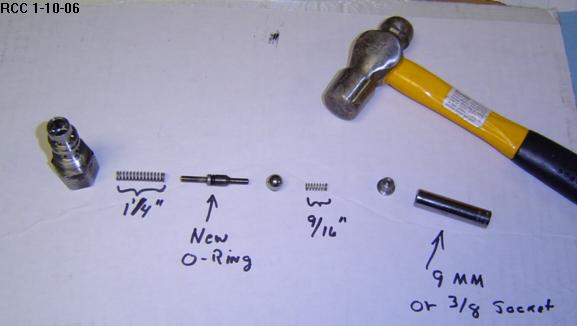
When you put it back together insert the large spring, small O-ring assembly, and the steel ball into the valve body standing upright. Put the top hat end piece in a 9mm or 3/8 inch long socket to hold it, and then place the small spring into the top hat.
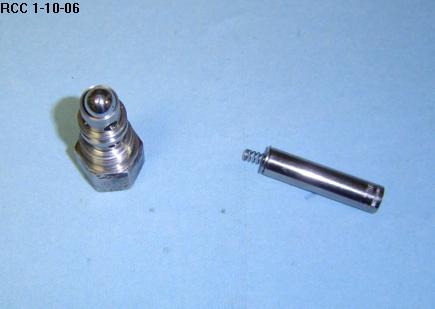
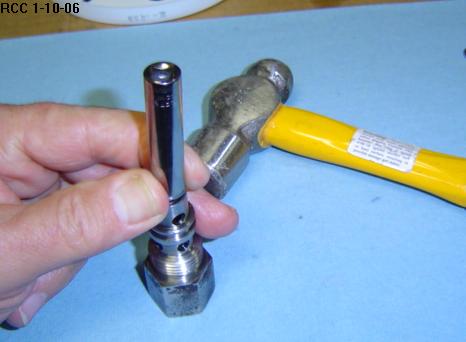
Holding the valve with your left hand, mount the top hat piece with the small spring towards the steel ball and push together. When you get it lined up you will need to pound it into place with a small hammer.
Cover the valve side openings with tape and then VERY IMPORTANT, with a mig spot weld the top hat piece on two sides to the valve body, this will hold the valve together in place of the original ridge. It only takes a small amount of weld and it can be ground down. It doesn’t have to be pretty, and it doesn’t come in contact with anything, as it is sitting in an opening. There is some clearance on the side but try and keep it as close to the original diameter as possible. (YOU DON’T WANT THE VALVE TO COME APART AND PIECES GO DOWN INTO THE HYDRO).
Remove the tape and clean the valve up. It should look like this:
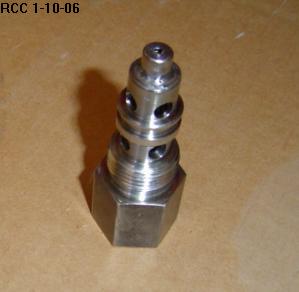
Replace the exterior O-rings, dip in some hydraulic fluid to flush, and then replace in your tractor for a test.